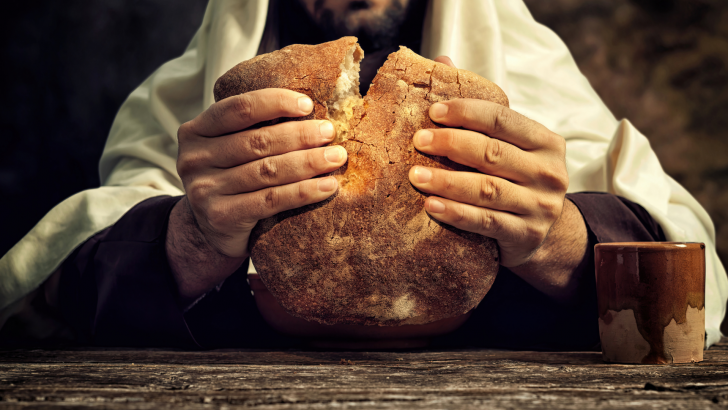
The idea of “God’s Bread” often comes from descriptions found in the Bible, especially in passages that describe simple, natural food used for strength, healing, and daily life.
One well-known reference is in the Book of Ezekiel, where a special kind of bread is described using a mix of grains and legumes.
This bread is often called Ezekiel bread today. It is made from whole ingredients that were common in ancient times and valued for their nourishment.
Unlike modern bread, it does not rely on processed flour. Instead, it uses natural grains that provide energy and strength.
Many people today see it as a healthy and meaningful recipe connected to history and faith. Here are five steps to prepare this bread, along with the ingredients and their simple benefits.
1. Step One: Gather the Ingredients
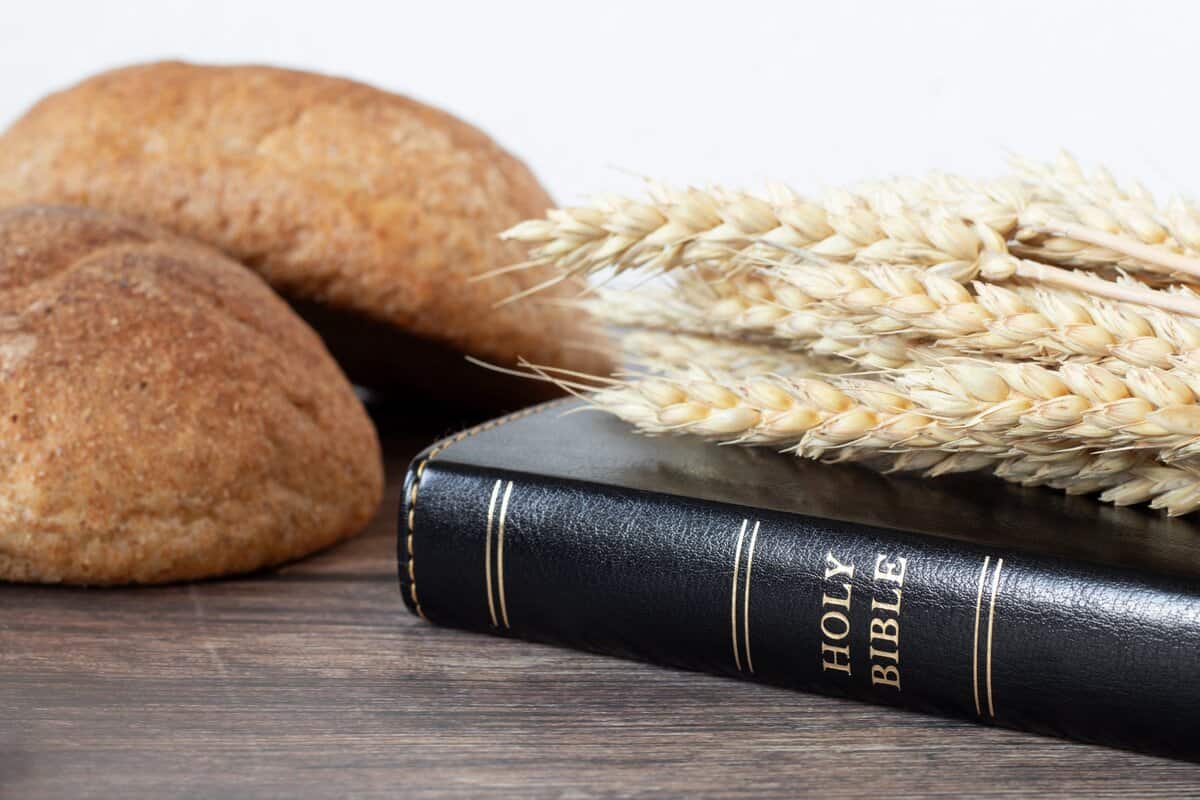
The first step is to gather all the ingredients mentioned in the Book of Ezekiel. These include wheat, barley, beans, lentils, millet, and spelt.
Each ingredient has its own benefit. Wheat provides energy and is rich in nutrients that support daily activity.
Barley is known for helping digestion and keeping the body balanced. Beans and lentils add protein, which helps build strength and repair the body.
Millet is light and easy to digest, making it gentle on the stomach. Spelt is an ancient grain that contains fiber and helps support overall health.
Together, these ingredients create a balanced and nourishing mix. This combination shows how people in ancient times used simple foods to stay healthy.
Gathering these natural ingredients is important because it keeps the recipe close to its original form and meaning.
2. Step Two: Soak and Prepare the Grains
After gathering the ingredients, the next step is to soak them in water. This helps soften the grains and legumes, making them easier to grind and digest.
Soaking also begins a natural process that helps release nutrients. In simple terms, it makes the food more useful for the body.
Beans and lentils become less heavy, and grains become easier to work with. This step may take several hours or even overnight.
It requires patience, but it is important for the final result. In ancient times, people understood that soaking improved both texture and nutrition.
It also helped remove unwanted elements that could make digestion harder. This step connects the process to natural and traditional practices.
Preparing the grains in this way shows how simple methods can improve food without the need for modern tools.
3. Step Three: Grind and Mix the Ingredients

Once the grains and legumes are ready, they are ground into a thick mixture. In ancient times, this was done using stones, but today a grinder or blender can be used.
The goal is to create a dough-like texture where all ingredients are combined evenly. This mixture becomes the base of the bread.
Mixing different grains and legumes together creates a balance of nutrients. It provides both energy and strength, making the bread more complete than using a single grain.
The texture may be slightly rough, but this is part of its natural quality. No refined flour is used, which keeps the bread closer to its original form.
This step is where all the ingredients come together, showing how simple foods can create something strong and nourishing when combined properly.
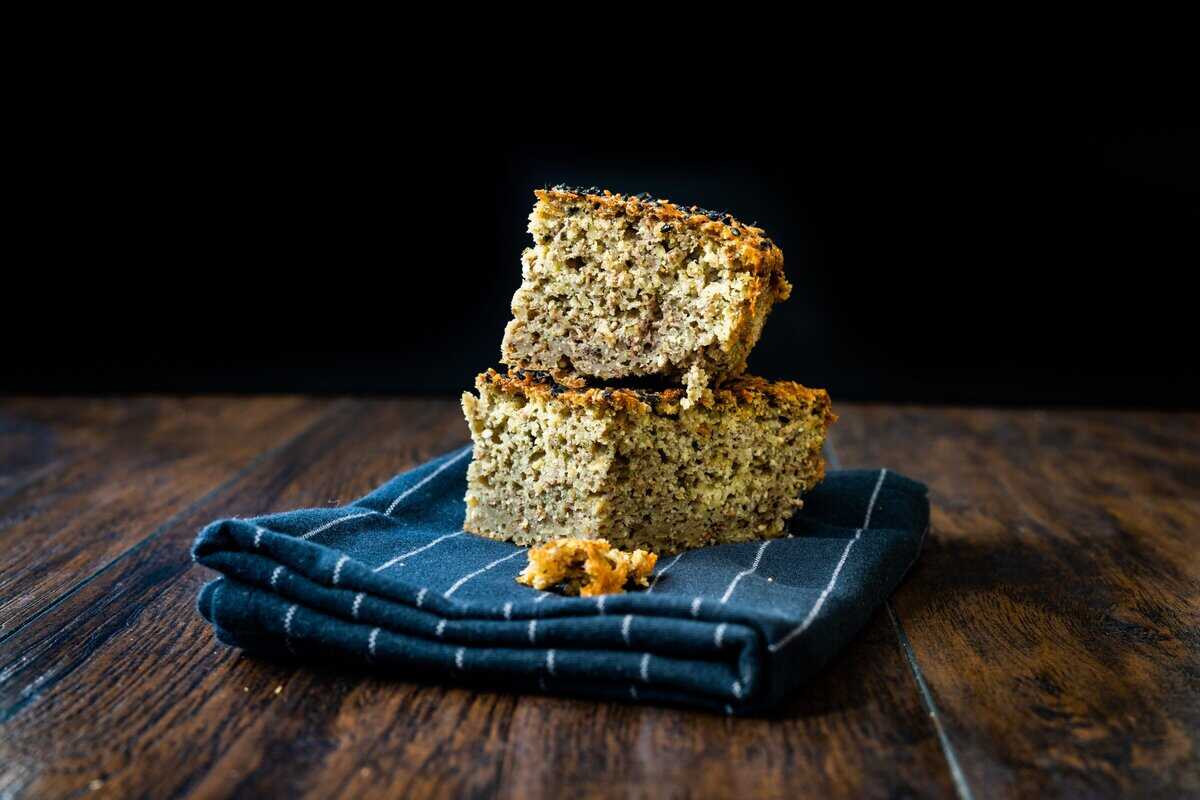
4. Step Four: Shape and Bake the Bread

After mixing the dough, it is shaped into flat loaves or small rounds. The bread is then baked until firm and cooked through.
In ancient times, this was often done over a fire or on hot stones. Today, an oven can be used to achieve the same result.
Baking transforms the mixture into solid bread that can be stored and eaten over time. The heat also brings out the natural flavors of the grains and legumes.
This bread is usually dense and filling, meaning a small amount can provide lasting energy. It does not have the soft texture of modern bread, but it is strong and nourishing.
This step shows how simple cooking methods can turn basic ingredients into something useful and lasting.
5. Step Five: Understand Its Meaning and Benefits
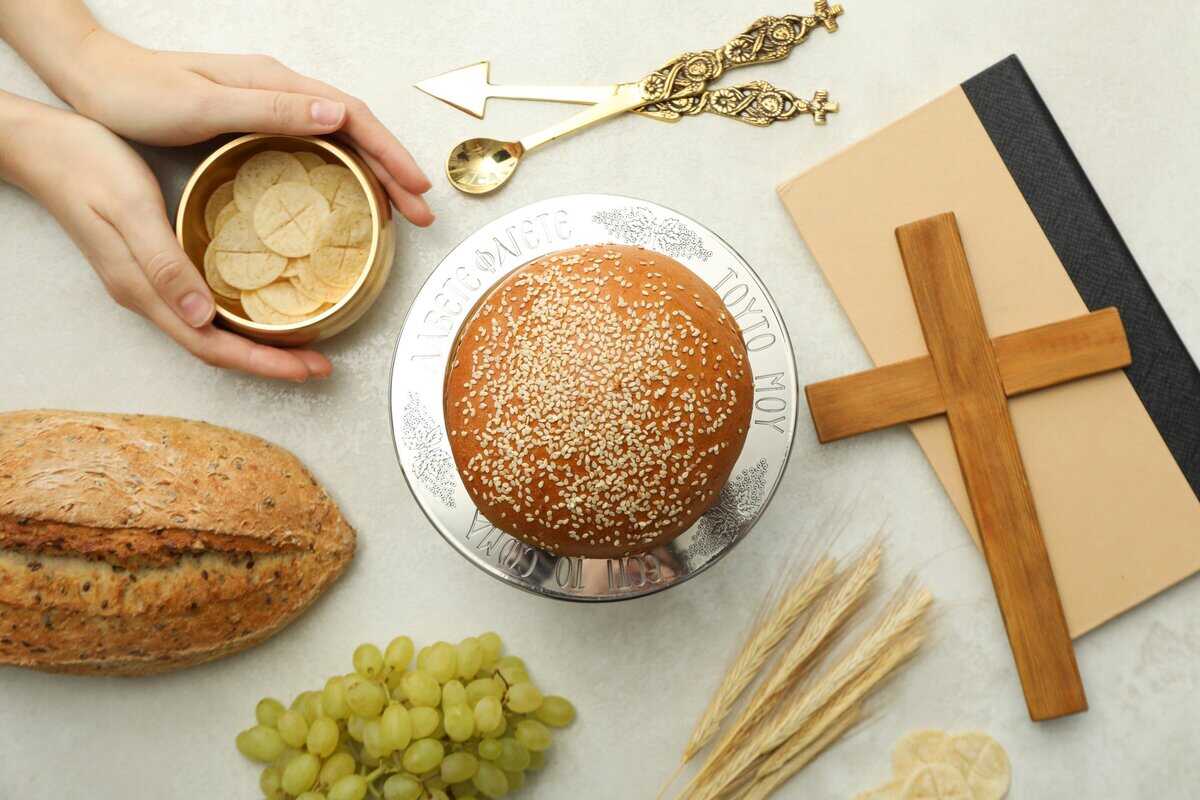
The final step is understanding the meaning behind this bread. In the Bible, this bread was connected to survival, discipline, and faith.
It was not just food but a symbol of endurance during difficult times. Each ingredient played a role in providing strength and balance.
Today, many people value this bread for its health benefits. It is rich in fiber, protein, and natural nutrients.
It supports digestion, energy, and overall well-being. Beyond physical benefits, it also reminds people of simple living and using what is available.
This bread represents a connection between body and spirit. It shows how food can be both practical and meaningful, offering nourishment in more ways than one.

Sempre senti uma forte ligação com o Divino desde o meu nascimento. Como autora e mentora, a minha missão é ajudar os outros a encontrar o amor, a felicidade e a força interior nos momentos mais sombrios.